Hello everybody, hope you’re having an amazing day today. Today, we’re going to prepare a distinctive dish, make chewy bread with mochi. It is one of my favorites food recipes. This time, I am going to make it a little bit tasty. This will be really delicious.
If you want the chewy, sweet flavor of mochi anytime, learn how to make your own. All you need are a few basic ingredients that you can find at your local Asian market. Learn how to make one of the easiest gluten-free, crusty on the outside, soft and chewy on the inside mochi bread.
Make Chewy Bread with Mochi is one of the most popular of recent trending foods in the world. It’s easy, it’s fast, it tastes yummy. It is appreciated by millions daily. Make Chewy Bread with Mochi is something that I’ve loved my entire life. They are fine and they look wonderful.
To get started with this particular recipe, we have to prepare a few ingredients. You can cook make chewy bread with mochi using 6 ingredients and 12 steps. Here is how you can achieve that.
The ingredients needed to make Make Chewy Bread with Mochi:
- Get 70 grams + 160 grams Mochi + water
- Make ready 220 grams Bread (strong) flour
- Get 20 grams Sugar
- Get 4 grams Dry yeast
- Prepare 20 grams Margarine
- Prepare 4 grams Salt
Because it is a powder, it is easier to have Mochiko in your pantry longer and it is much simpler to use. Think hot, chewy, cheesy mochi with a crunchy crust.that's exactly what these are like. The chewiness comes from the tapioca starch which you can find at any Asian grocery stores. The recipe is almost exactly as Natalia gave me, with slight modifications I made to better suit a home kitchen 🙂.
Instructions to make Make Chewy Bread with Mochi:
- Here's the mochi I received. It was hard work to cut it up.
- Put the mochi and water in a bowl and heat for a minute at 1000W in the microwave. Continue to heat as needed a little at a time until the mochi has dissolved. You could also do this on the stove.
- Once fully melted, it should be thick as seen in this picture. Leave it to cool until it is just warm to the touch.
- Important! A lot of water will have evaporated while it was heating, so weigh it again and add water to the mix as needed to bring it to 220 g.
- Add this in with the other ingredients in your bread maker, set it to rise for 35 to 45 minutes (depending on the outside temperature) and turn it on!
- After the first rise it should look like this. It has already risen quite a bit.
- Dust your work surface with flour and then take out the dough and press the air out. Cut it up and roll it into three or four pieces.
- Smear butter on your pan and then line up the bread rolls inside and let them rise for another 40 to 50 minutes.
- When baking with a square pan, once the bread has risen to within 1 cm of the edge of the pan cover it and let it bake for 35 minutes ta 200°C.
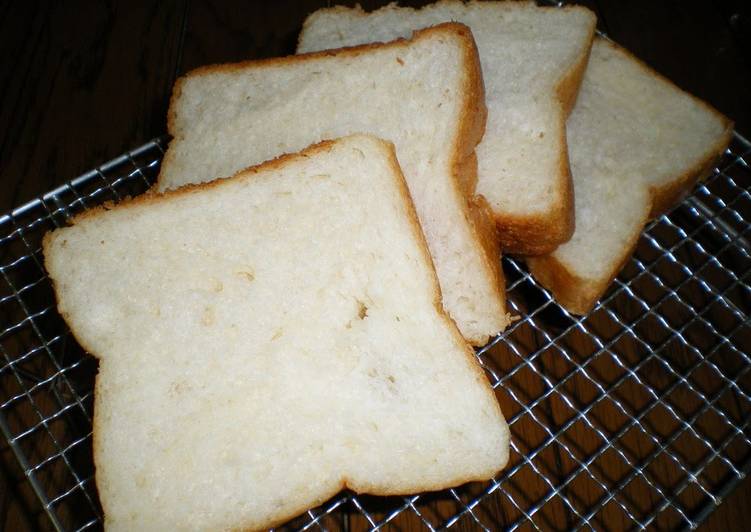
- All done baking!
- Mountain Style Dust the top of the bread with flour and make a slit along the top of the dough. Cook in an oven preheated to 180°C for 20 minutes. If you think the bread might burn, wrap it in aluminum foil.
- It turned out nice and fluffy.
Sticky and chewy Mochi (餅) is irresistible. Whether it's Mochi Ice Cream, Strawberry Daifuku Mochi, or mochi enjoyed during traditional Japanese New Years, these elastic wonders of glutinous rice Today we will make fresh mochi without Usu & Kine, a bread machine, or mochi-pounding machine. Mochi bread (麻波波糬), is a no-flour type of bread, made with glutinous rice and tapioca starch, which give them a chewy bouncy texture. There are a lot of version, some flavored with cheese, chocolate, green tea and some stuffed with dried berries and fruits. My favourite is definitely the cheese mochi.
So that is going to wrap it up for this special food make chewy bread with mochi recipe. Thanks so much for reading. I am sure you will make this at home. There’s gonna be interesting food at home recipes coming up. Remember to save this page on your browser, and share it to your family, colleague and friends. Thank you for reading. Go on get cooking!